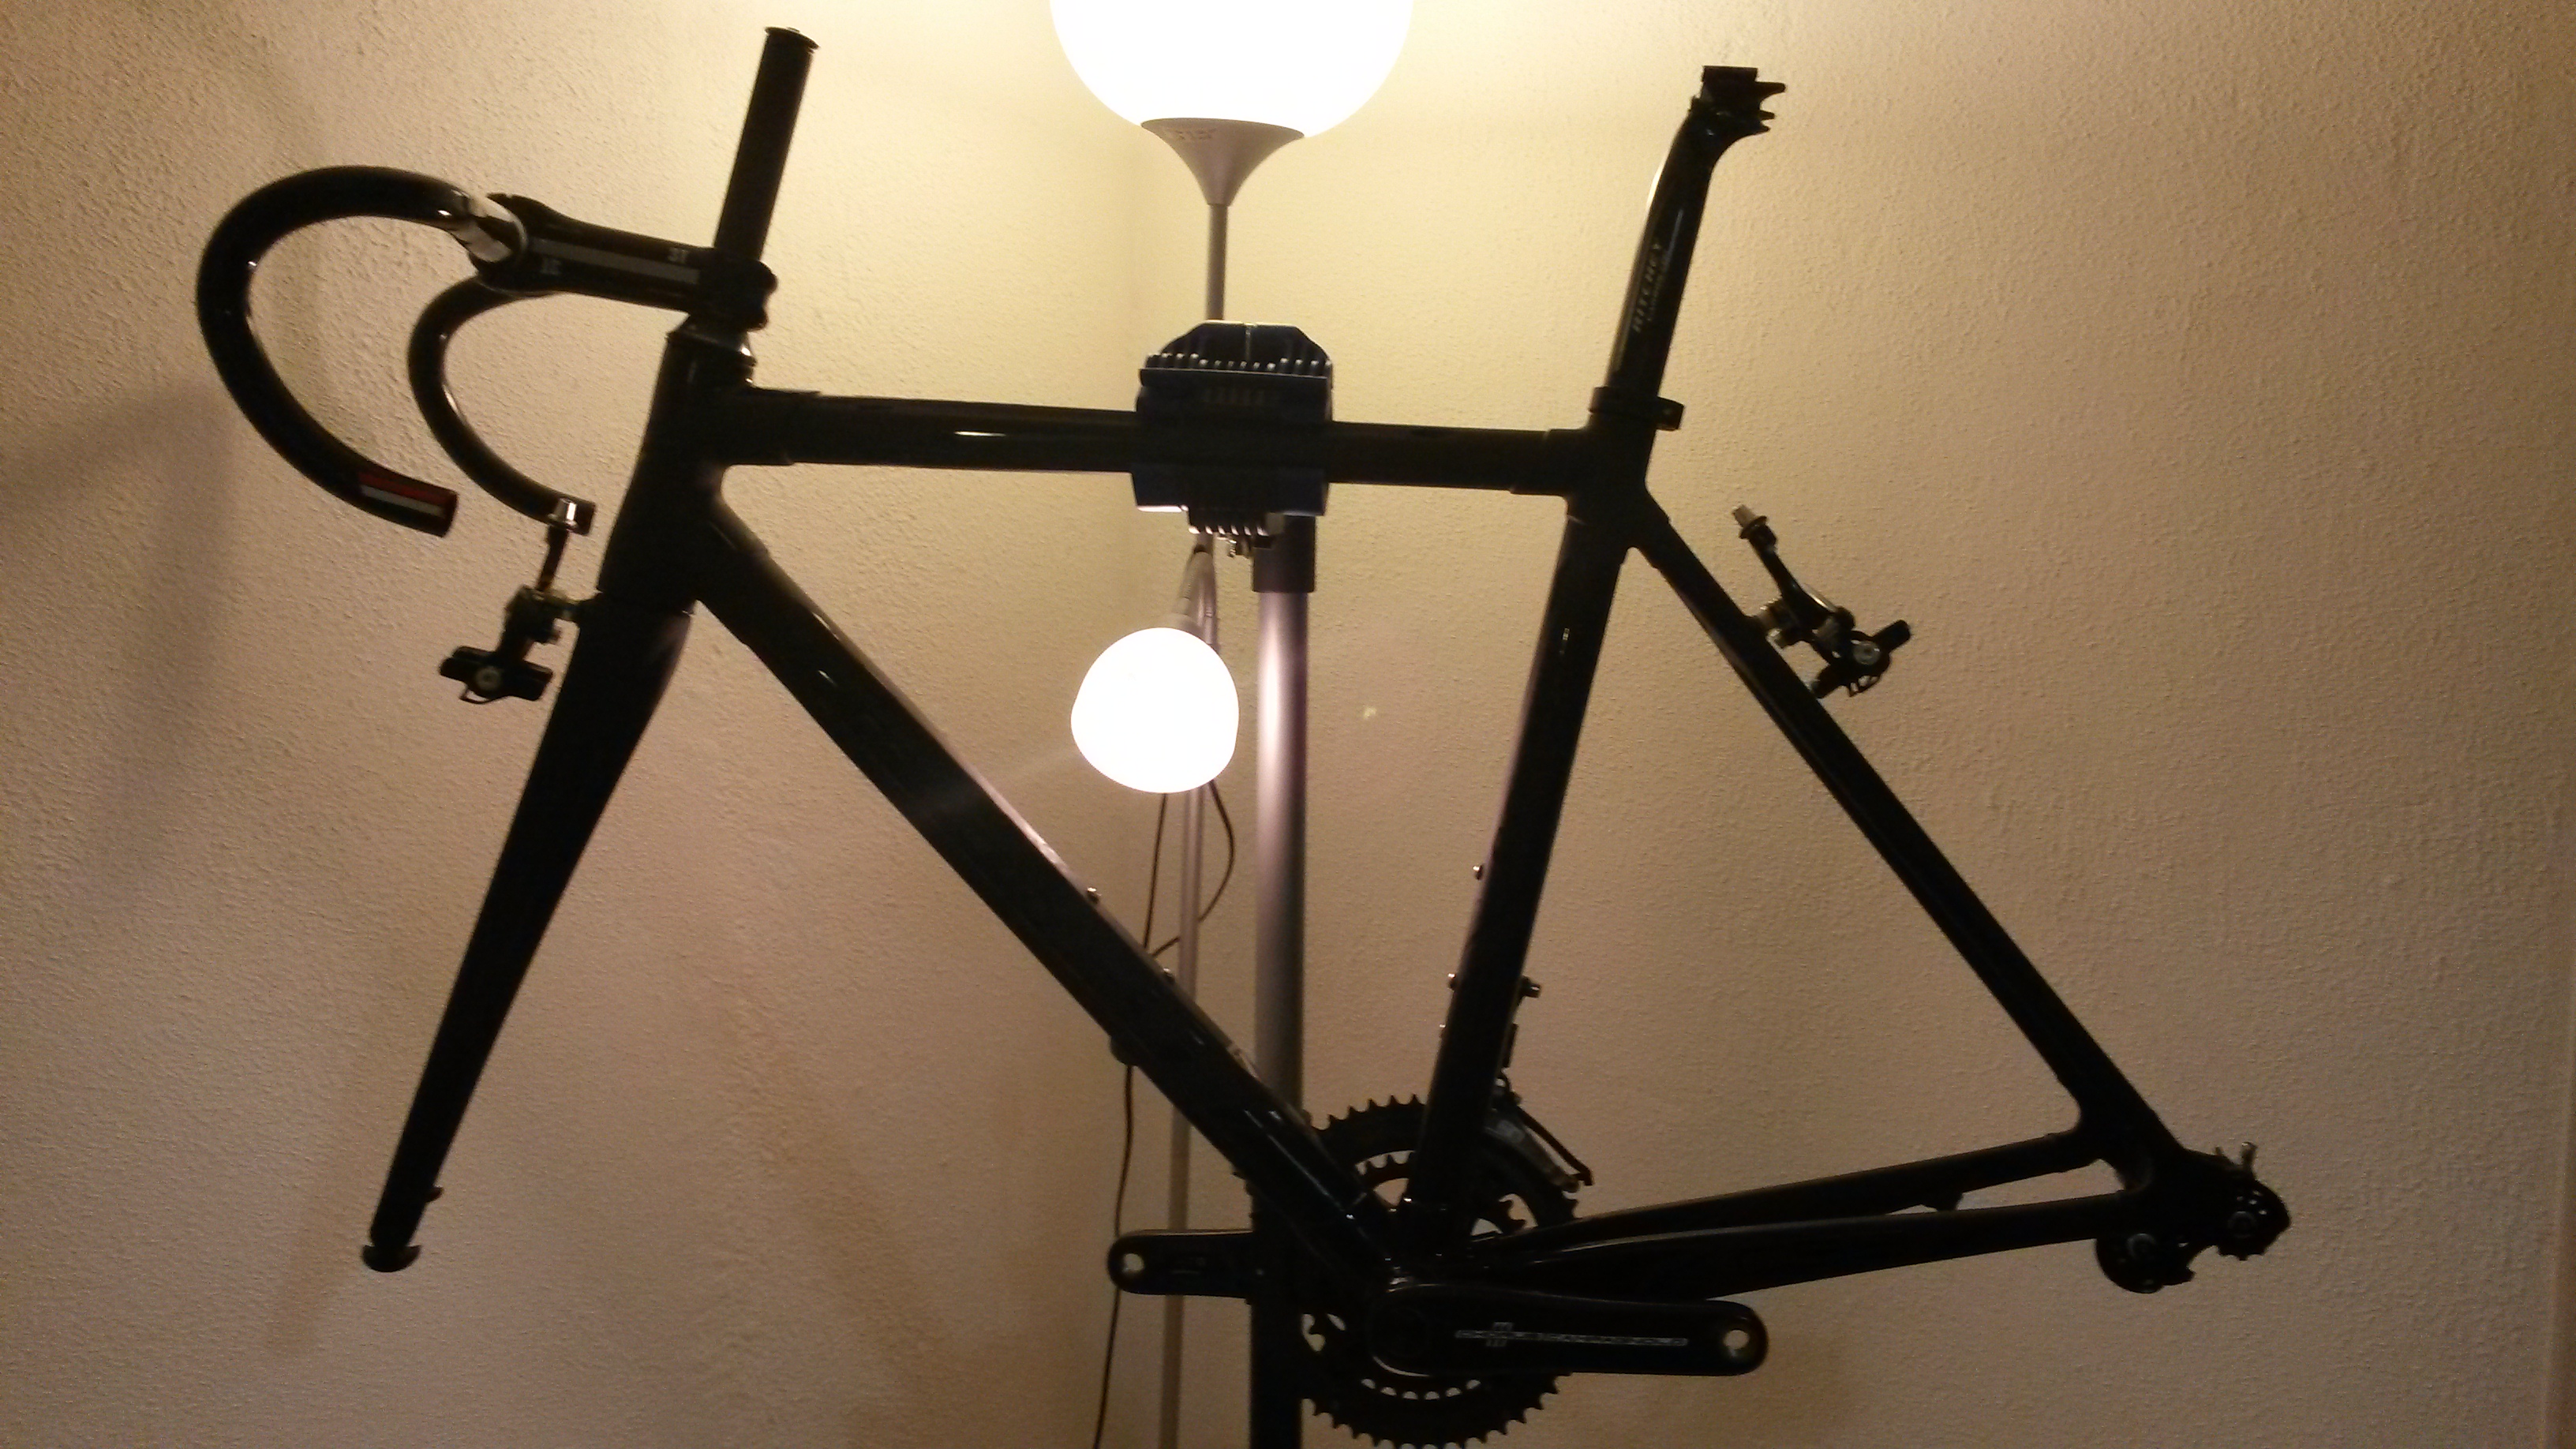
More on the bits and pieces later, but the short of it is that I’ve now got enough of them to turn my C59 into something other than a moodily-lit art installation in the corner of the room. My intention is still to assemble the bike myself, but I am starting to get nervous about the cables, the inevitable tweaking of the groupset, and sawing the steering tube off.
Wish me luck. Pro tips welcome.

When I built my bike a few years back I had no problems with cables and groupsets etc.you just need to take your time. When it came to the steering tub I took it to the LBS……just to be safe LoL! If you intend to do it yourself ” measure twice, cut once” 🙂
‘Take your time’ is great advice, Bryan. I’m trying to breathe deeply as I do all this stuff.
The head tube .leave plenty on it for a while..but avoid the Nut cracker look(Not cool.). leave the spacers under the stem.. Ride it for a good while until your !01% on position..iThen snip
Use the stem to pencil the perfect circle.Hack saw ,,
avoid the Nasty carbon dust
Have you ever seen a frame set come with no spacers, Roan? I don’t seem to have any. I don’t have wheels or a saddle on there yet, but measurements tell me I don’t need any anyway. After making sure of position would you snip everything off the above the stem, leaving it flush?
usually the dont come with any just the head set but they are easy get. carbon or alloy
defo don’t go on measurements,.everyone wants the slammed look, stem on the crown race,
and you might get that but its better working down the spacers 5or 6 to fall in love the right position.
others leave the “nut cracker” on in case they sell the bike later to a larger punter
remember the top of the fork should be 4/5mm short of the rim of the stem when its all assembled
to allow the cap pull it all together tight with no rocking in the head set.
Its a real easy job to do, Go on you know you want to do the barvitzma yourself
lace up all the cables , connect and assemble the group set .. do as much as you can then down to the LBS..and they will tweek it in for a small money .or it can be pain in the hole
All good advice. I’m drinking a coffee right now, building up my nerves for some cable routing. I’ll forget about the stem till that’s done.
The tip on taking the nearly-finished product to to shop is great, and what I was thinking, too. Cheers.
Gerry, exciting stuff!
The Interwebz is full of advice about NOT clamping a carbon frame or a carbon seatpost because the tubes are not constructed to withstand clamping force, eg, http://sheldonbrown.com/work-stands.html. I don’t know whether it’s true and what the risk level is — and it doesn’t really apply to me because I don’t have a carbon bike or seatpost. In any case, I used to have a clamping work stand but switched to this non-clamping type a little over a year ago and find that it actually makes life much easier: http://www.tacx.com/en/products/tools/spider-team. Since it’s light and portable, I pop it outside whenever I do a thorough cleaning of the bike using soap and water.
And yes, be sure not to inhale the carbon dust when sawing the steerer off. Additionally, unless you have a correctly sized saw guide for the job, I would take it to your LBS to have it done. Sawing a clean, straight line is actually quite difficult. I’ve done it to my carbon steerer without a saw guide, and it turned out to be a nightmare…
Good point, Chikashi. I’ve got the bike very gingerly clamped onto the top tube right now and the work I’ve done up to present has been very ‘low impact’. Still, I’ve read those warnings, too, so this could be yet another reason to get the LBS to finish the job for me! Nice work stand, btw. I like the small base, too. The one I have is solid, but huge.
Steerer tube – I think a trip to the shop might be in order.
I think that getting the steerer cut clean and straight is important for the same reason as having the bottom bracket properly faced before installing the BB cups. I suspect that an even end will help to ensure that the steerer bung can be inserted and tightened with a proper and evenly distributed load, without which vibration from the road will loosen it more easily. I used to have the problem of the bung becoming loose rather frequently, and I think that the above was the cause. So, yes, it’s probably best to go to the LBS for this one.
My mind will be more at ease getting that bit done at the shop, for sure. At the same time I might ask them to go over what I did to make sure all the bits and pieces are there.
Having put 4 of these things together, I found it was easier to thread the gear cables with the chainset off as sometimes it was quite difficult to thread the cables through the exit slit on the down tube. With the chainset off you can use your fingers to guide the cables through. Otherwise the C59 is a pretty straight forward frame to build.
Good advice. I can easily take off the chainset if need be. Thanks for that last ‘confidence building’ last sentence, too!
I built my latest mountain bike without a workstand. It’s a little bit of a faff, but it’s fine. Could be a good idea to take it out of the stand when you have to tighten something up.
By the way, found your blog as I was searching for places to ride around Montpellier and was looking at the Cevennes, enjoying reading through it!
Cheers,
Gav.
Thanks for the comment, Gav. I’ve got the bike nearly done and so far I don’t think I’ve cracked anything on the stand. Fingers crossed…
The Cevennes are fantastic. Definitely get up there when you’re here. Some of the best riding you can imagine. I hear there are tons of MTB trails around, too.
Good work. My bikes are steel so no worries about cracking anything!
Yeah, I’ve heard it’s fantastic riding, just need to make sure I get to go there and don’t have to spend all my time in Montpellier. Just the road bike this time but I’ll definitely note down any trails for future visits…
Had the very same trepidations when building my bike buddy. The steerer tube was not so bad. In fact I made two cuts, because I went very conservative on the first to make sure it went smooth. You can always use spacers, but if you cut too much off…doh! It’s all sixes and sevens! 😀 Just wrap the tube in electrical tape then cut away! (use a miter box or clamp if possible)
Cables…well, yeas, I had a friend help me on that. Especially on the internal routed frames. Gearing just takes a bit of trial and error. YouTube my friend, youtube…you’re best friend when building repairing ANYTHING! You really cannot screw the drivetrain up too much it just won’t shift properly in most cases. Get a rear cassette remover/installer too. Affordable on ebay or Amazon. BB tool as well. (that is if you don’t already have these)
Good luck, keep us posted on the progress. If in doubt, get help or seek advice. Don’t rush it. Be methodical, be deliberate in your assembly. The feeling you will have after building it and then riding it is different from just buying a bike and hopping on it. At least it was and still is for me.
Geo
As far as the BB ‘face’ issue goes, I just cleaned out the frame threads of the BB with a bottle brush. Then I coated the cartridge threads in Bostik ptfe based anti seize. Hand threaded it in back it out. Repeated this several times. Then installed the cartridge using a torque wrench. No problems whatsoever. Not a grind, a squeak, not a creak and 3700 odd miles on the bike to date. 😉
Yes, you CAN clamp a carbon fork tube btw. Just don’t use a lot of pressure. A miter box was what I used. Perfect. Sometimes, “expert” advice (or mostly opinions) is well, less than just that. It all;l depends on the user and utilizing common sense. You’ll be fine.
Youtube! (GNC, Performance, and Art’s “how to” series are all good sources)